Sep 1st 2021
Tourniquet Placement
Combat, Tactical, and Pre-Hospital
Emergency Scenario
Always Better. | September 2nd 2021
First things first, for the purposes of today’s blog post we are going to be discussing tourniquet placement in a Combat, Tactical, and Pre-Hospital Emergency Scenario. Tourniquet placement and usage techniques in a non-emergent environment differ but are beyond the scope of this post.
Why is that? If you have had any first aid type training you may have been taught the mantra of “Place the tourniquet 3 inches (or three fingers) above the wound.” That is fine in a scenario where you can clearly expose and visualize the wound. In the real world however, that will rarely if ever happen. When someone is bleeding to death from a severed artery or vein, speed is of the essence. As I always say “BLOOD IN GOOD, BLOOD OUT BAD.” Every ounce of blood counts and once it hits the ground, the five second rule does not apply. You can’t put it back. So move quickly and decisively which means we aren’t going to take time to cut away clothing, clean away blood and dirt or to carefully examine the limb for the location of the wound. Once we recognize the presence of a life-threatening bleed, we are going to act.
Today we are talking about tourniquet placement so we will be discussing bleeding from a limb only. The arms or the legs. No, we do NOT place tourniquets around the neck for head wounds.
Step 1. Recognize the presence of a life-threatening bleed.
This is the time in most medical training where the instructor starts talking about the different forms of bleeding and how to recognize them. It is a mistake to try and make a decision based off of the color of blood (dark vs bright red) or “spurting” pattern. You are just as likely to die from a severed VEIN (dark blood going to the heart) as a severed ARTERY (bright red blood coming from the heart). Spurting may or may not be present based on the type of wound. Even volume can be deceiving. You can bleed significant quantities of blood internally especially into the tissues of the thigh.
The rule I have used successfully has always been this. IF YOU LOOK AT THE SCENARIO, THE PATIENT, THE TYPE OF WOUND, THE AMOUNT OF BLOOD OR ANYTHING ELSE THAT MAKES YOU THINK “$H*T! THIS MAY KILL THIS PERSON!” THEN ACT ACCORDINGLY. This is not the time for hesitation or indecision. As we discussed in the Tourniquet Myths and Misconceptions post, the likelihood of permanent injury from placement of a tourniquet is almost zero. Err on the side of using the tourniquet if you think it is needed.
OK. This patient may bleed to death from that arm or leg wound. What now?
Step 2. Access your tourniquet.
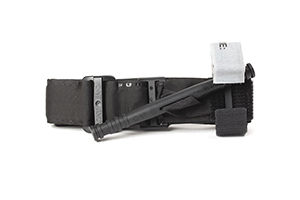
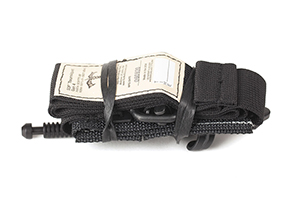
This is a critical step. As we have already said, time is of the essence. This isn’t when you want to have to run to your car to get your life saving medical device. For that matter, you also don’t want it buried in a pouch or even in your Individual First Aid Kit (IFAK). Your tourniquet should always be carried ON YOUR PERSON and SEPARATE FROM OTHER MEDICAL EQUIPMENT where it is immediately available. Blue Force Gear offers several options for carry of the tourniquet to include: Tourniquet Now! pouch
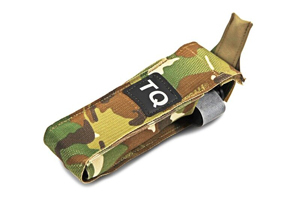
Tourniquet NOW! Strap Tourniquet Holder
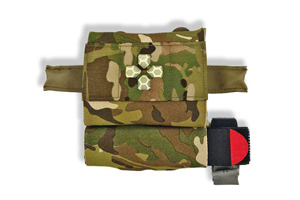
MOLLE Attachment
Dependent on your requirements, one of these options should suit your needs. As will be discussed in the upcoming Tourniquet Application post, the desired time from first recognition of bleeding to final tightening of the tourniquet is 15 seconds. There just isn’t any time to waste trying to locate the tourniquet.
Step 3. Place the tourniquet on the limb at one of the 4 anatomical landmarks.
Finally, we get to the meat of today’s subject. Where do we put the tourniquet? We already know that it goes on an arm or leg. I also already said we aren’t fooling around with exposing the wound, carefully identifying its exact position or other time-wasting actions. So simply remember this – HIGH AND TIGHT. We are going to place the tourniquet as high as possible on the limb. I don’t need to say this but will do it anyway, the tourniquet goes between the wound and the heart. If you place the tourniquet below the wound on the limb, it won’t work. We go as high on the limb as possible to make sure this doesn’t happen. One common mistake is to see a wound on the lower leg or forearm and place the tourniquet just above it. What you don’t see is the other wound higher on the limb and then your patient bleeds to death from that unrecognized wound. Remember, we are training for field conditions. There will be LOTS of blood, the limb may be severely damaged, the patients uniform or clothing may hide a wound, it will be dark, you may be getting shot at, etc, etc, etc. Also, we will be placing the tourniquet over the patients clothing. But you need to be sure there aren’t any other objects in the way. No holster straps, cell phones, pens in the pocket, wallet, etc. The tourniquet won’t work if it is tightened over a rigid object.
Here are the four locations for tourniquet placement:
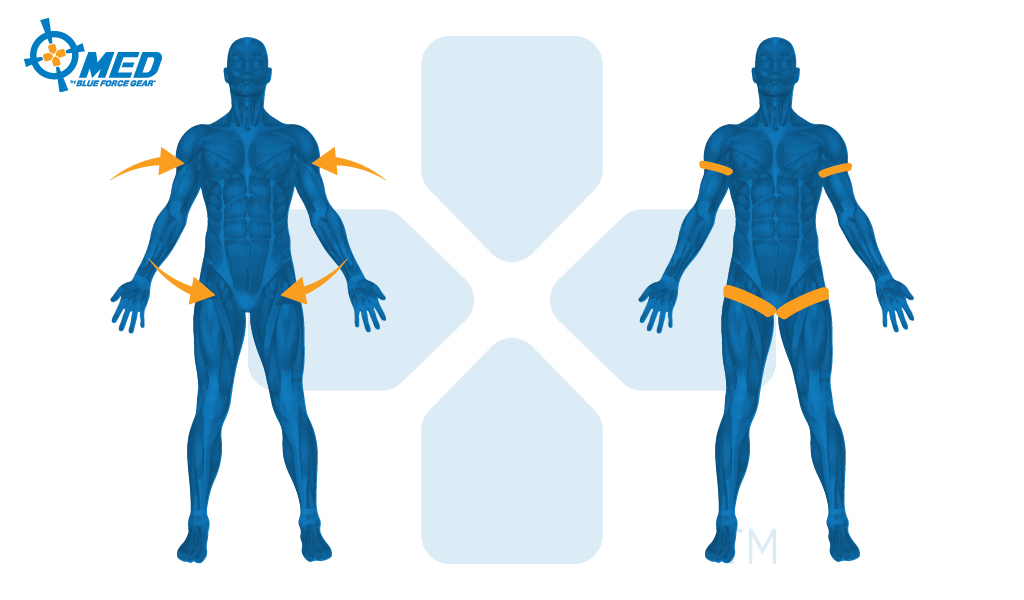
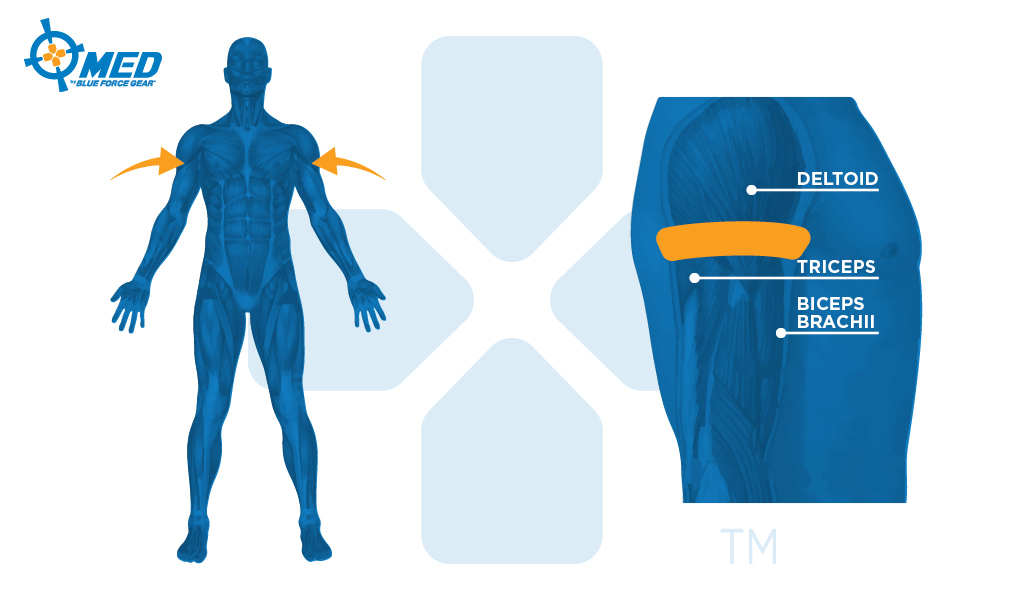
These locations are specifically chosen for anatomical reasons. Just because I said “as high on the limb as possible” doesn’t mean you want the tourniquet up on the shoulder muscle (the deltoid). The shoulder muscle is large and rounded. If you tighten the tourniquet there and it slips down, what do you think happens? It becomes loose. As you are reading this, reach over with one hand and place it on your other shoulder. Now slide it down a few inches until you can curl your thumb and forefinger around the arm at the bottom of the shoulder muscle and the top of the bicep and tricep. That is the smallest part of the upper arm on the human and where you always want to place the tourniquet. You will feel the location quite clearly once you find it.
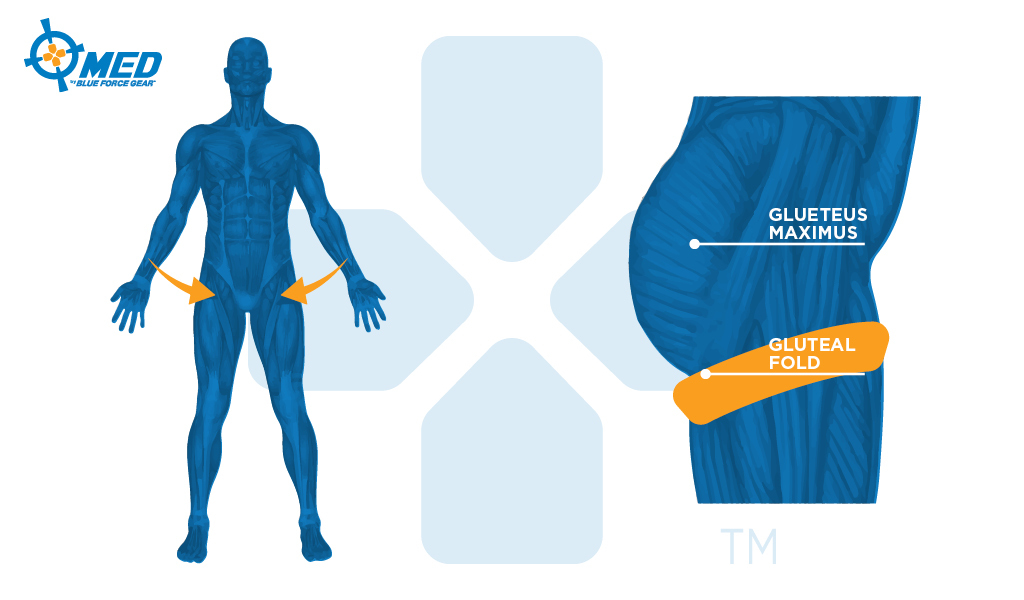
For the leg, we don’t want the tourniquet so high on the limb that it is on the Gluteus Muscle (the good old butt) for the exact same reason. That area is going to be larger and the tourniquet sliding down could result in it loosening. So, we are looking for the area where the butt and the back of the thigh meet. This is called the Gluteal Fold, Gluteal Crease or as my buddy Jeff B. (an active US GOV aviation medic) calls it “the butthigh.” He’s special like that. Also extremely important, the male of the species has some important equipment in the front section of this area. Not a joking matter, be sure you don’t get any of those body parts under the tourniquet strap. You can cause life-altering injuries and the patient will likely cause YOU some harm when you tighten the strap.
Step 4. Tighten the tourniquet until bleeding stops.
We won’t go too in-depth on this as it will be covered during Tourniquet Application but it bears repeating so that it will sink in. Tourniquets have to be tighter than you think. If they are hurting the patient, that is good. That means it is tight. The tourniquet isn’t designed for comfort. Tighten the tourniquet until ACTIVE BLEEDING stops. There will continue to be some residual oozing from blood that is left in the bottom portion of the limb and possibly bleeding from a broken bone. What you are looking for is the bleeding that alarmed you in the first place (go back and read Step. 1, “$H*T! THIS MAY KILL THIS PERSON!”) to stop.
Step 5. Continue to check/reassess the tourniquet every few minutes or any time you move the patient.
Again, this will be covered later but bears discussion here. You are not done just because you cranked the tourniquet down and stopped the bleeding. Things can and do change. You should be continually reassessing the tourniquet and the patient to make sure that the tourniquet is still working. Remember in the hypothermia post how we discussed closing the blanket in the front so that you can easily open it to check on the wound? Double-checking your tourniquet should also occur EVERY TIME you move the patient. Even if it is to sit them up or lay them down. Any movement can cause the tourniquet to shift and come loose.
TL;DR:
- Recognize the presence of a life-threatening bleed.
- Access and prepare your tourniquet.
- Place the tourniquet on the limb at one of the 4 anatomical landmarks.
- Tighten the tourniquet until bleeding stops.
- Continue to check/reassess the tourniquet every few minutes or any time you move the patient.
Tournequets found in the BFG Medical Section of the Store
Combat Application Tourniquet (C-A-T)
The patented C-A-T® is a true one-handed tourniquet proven to be 100% effective by the U.S. Army’s Institute of Surgical Research. Tests proved that the C-A-T® completely occluded blood flow of an extremity in the event of a traumatic wound with significant hemorrhage.
Special Operations Tactical Tourniquet Wide (SOFT-T)
Pronounced Soft T Wide, the Special Operations Tactical Tourniquet Wide is a CoTCCC approved tourniquet preferred by many users due to its strong construction, metal windlass and ability to fold flatter and smaller than the CAT.
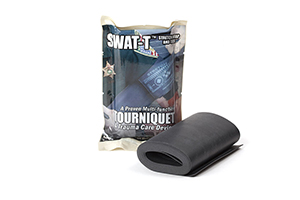
SWAT-T Tourniquet
The SWAT T is being utilized in BFG med kits as a PRESSURE DEVICE and not as a primary tourniquet. While it can be utilized as a tourniquet, we recommend the CAT or SOFTT-W as a primary tourniquet for their ability to be self applied.
Adequate training should be completed from a licensed professional before performing any first aid discussed in this article. This is not medical advice.